Bulbs for early spring? Then, why not get your bulbs going early? I think it’s a great way to get a jump on the growing season, whether you’re growing them inside or out.
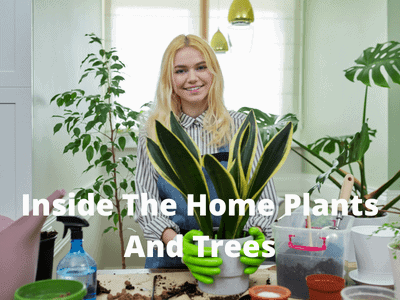
By following a few easy steps, you can build an indoor spring garden with flowering bulbs long before they are ready to bloom outside. Make some beautiful, different arrangements to set out on your table or other surfaces, and you’ll soon find yourself in a more happy frame of mind. Get yourself some early bulbs, because spring is almost here!
Some areas actually get snow in May and June, reducing the actual gardening season to a couple of months at most. Even if it doesn’t look or feel like spring outside, there are plenty of ways to delight in the season’s beauty inside.
While waiting for the weather to warm up enough to cultivate outside, forcing spring bulbs is my favorite method to bring some much-needed beauty within.

Indoors, amaryllis bulbs are among the simplest to cultivate and provide welcome color to the dark days of winter. It is recommended to put amaryllis bulbs in a container with soil, leaving roughly a third of the bulb above the soil level. Put in a spot with plenty of light (but not direct sunlight) and very lightly water it at first.
There is a wide variety of amaryllis to choose from, each with its own unique hues and shapes. There are vivid reds, whites, pinks, peaches, and even a hint of green!
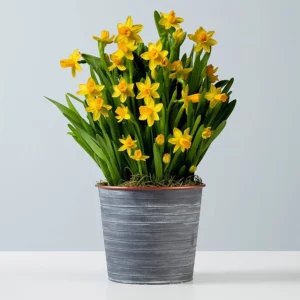
Bulbs of paperwhite daffodils may be planted in soil or simply set in a shallow basin with stones to keep them from sinking. After just four weeks of “planting,” with nothing more than water, they should be in full flower. Plants should be started out in indirect light and temperatures around 50 degrees F for the first two weeks, before being moved to a warmer, brighter environment.
When growing bulbs in a bowl with pebbles or marbles, the water level shouldn’t get higher than one-third to one-quarter of the bulb’s base.
Paperwhites are an incredibly fragrant and beautiful addition to any room. Make the investment in several dozen bulbs, and then keep them in a dry, cold location. Planting a few of them every two weeks will ensure blooming all the way through February.

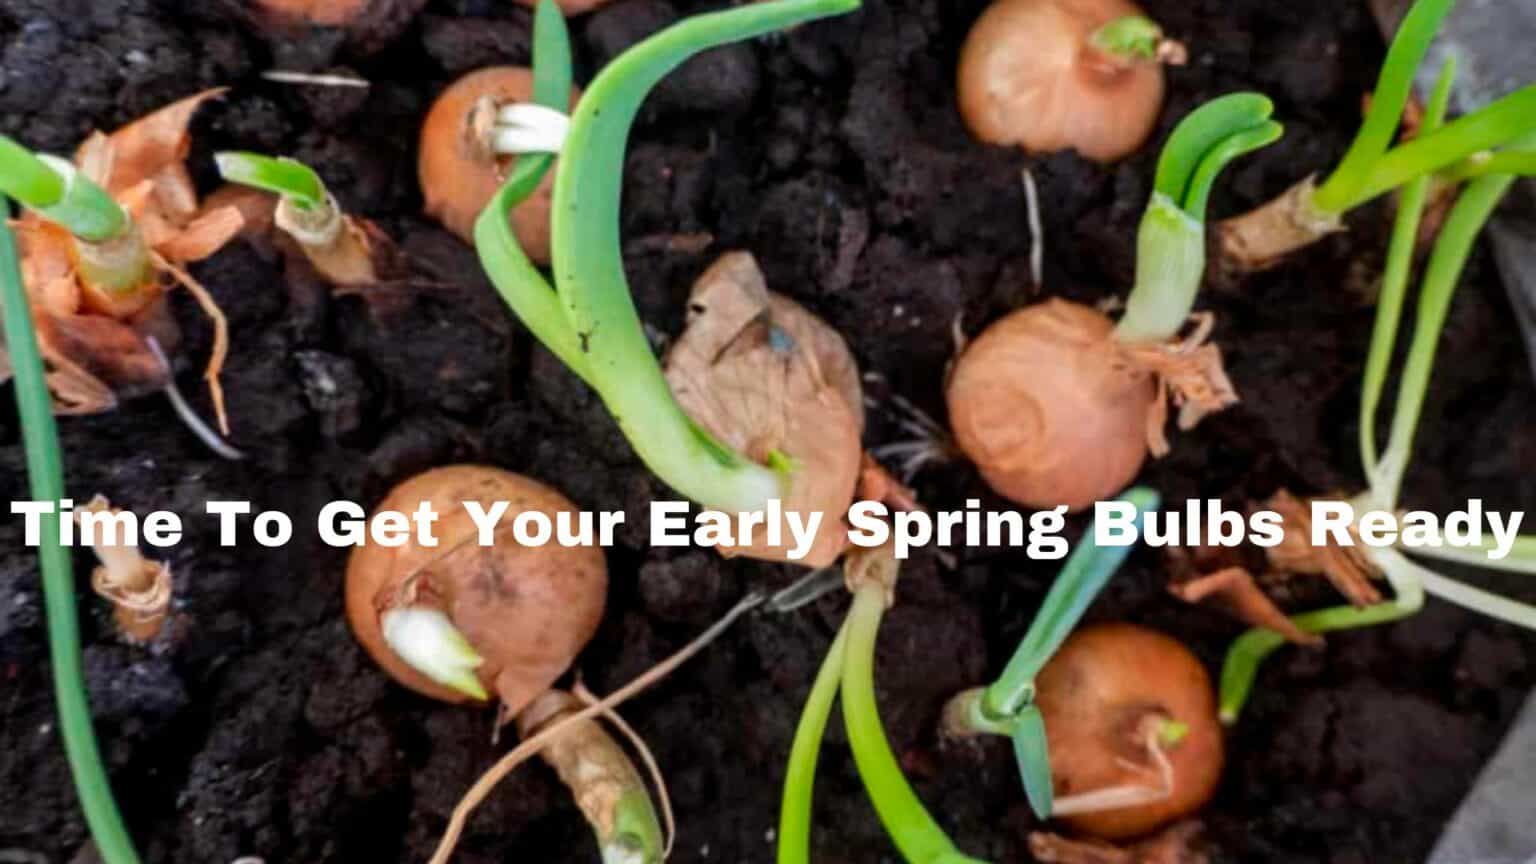
In order to blossom in the spring, some types of bulbs need to be chilled for a while beforehand.
Bulbs such as tulips, daffodils, hyacinths, crocuses, Dutch irises, and scilla are included. The embryonic flower is “turned on” via a biochemical reaction inside the bulb when exposed to chilly temperatures for a lengthy duration. A minimum of 16 weeks of cold is needed for most bulbs to completely develop into bloom.
They are then ready for exposure to light and heat. There’s still a chance for flowering, but it can be stunted and twisted if you rush the chilling process. Bringing early spring bulbs inside to force them to bloom early is a common practice.
Most bulbs might be used indoors, although some are more difficult to work with than others. Selecting bulbs that thrive in forced conditions is essential for producing beautiful, carefree blooms.
I also prefer to cultivate bulbs that aren’t hardy in my location indoors. Some bulbs only thrive in warmer climates and won’t survive the winter to naturalize.
If you reside in a colder region, like I do but still want to enjoy these more delicate bulbs, you may do so by growing them inside.
Check out our article to learn which plants flourish in your region: The USDA Growing Zones Map, Which Plants Grow The Best? Tune Into Your Sweet Spot.

It is possible to persuade bulbs and other plants into blooming sooner than they would otherwise. Bulbs need to be subjected to a simulated winter season for this to work.
Dormancy is a natural process for spring bulbs, and after the soil has been warmed by the sun in the spring, the bulbs will awaken and begin to blossom. We’re trying to artificially reproduce this effect inside and on our own schedule so that we may enjoy the blossoming of spring flowers earlier in the year.

You may skip this step and purchase already-chilled bulbs if you’re short on time. Sending someone a year’s worth of bulbs every month from Harry & David is a thoughtful gesture that they (and you) will enjoy. All orders come with a beautiful assortment of pre-planted bulbs, from tulips and daffodils to lilies and amaryllis.
In the first month, your purchase will arrive in a stylish planter with a 7-inch liner, and in the subsequent months, in a grow pot. Both will come with detailed instructions for ensuring the health of your new bulbs.


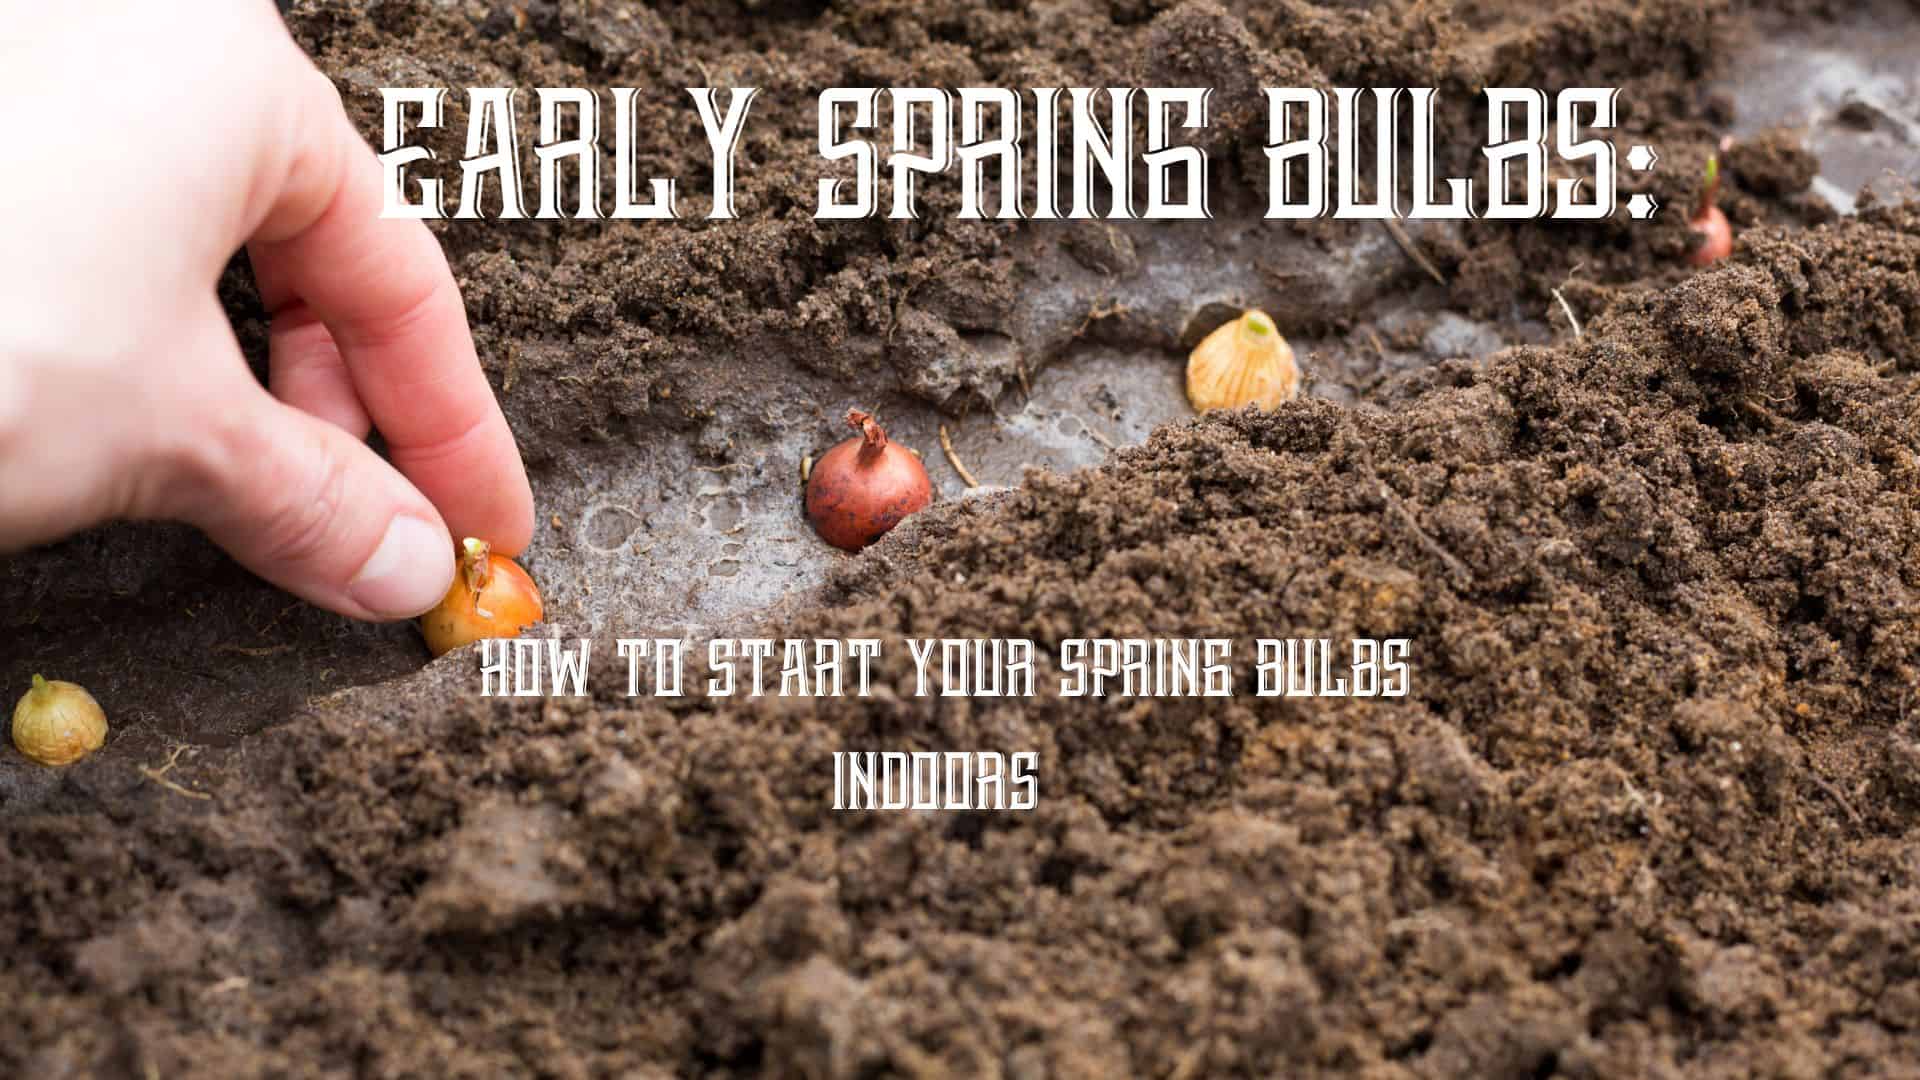
To get the finest visual effect from your bulbs, choose a broad, shallow container that is just 4 to 6 inches deep. For the bulbs to properly root, there has to be at least 2 inches of space underneath them.
The top of the bulbs should be flush with the top of the planter. Normal potting mix for plants is two-thirds soilless mix and one-third either compost or soil. When planting bulbs in containers, pack them close together so that there is only approximately 1/2 inch between each one.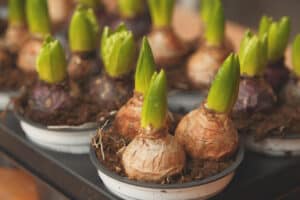
Because cooling and bloom periods vary, it’s also best to stick to one kind of bulb per container. After planting, be sure to give each container a good soaking of water, and then I identify it with the name of the variety and the date it was planted. If you don’t take note of the differences now, you won’t be able to recall them when they blossom.
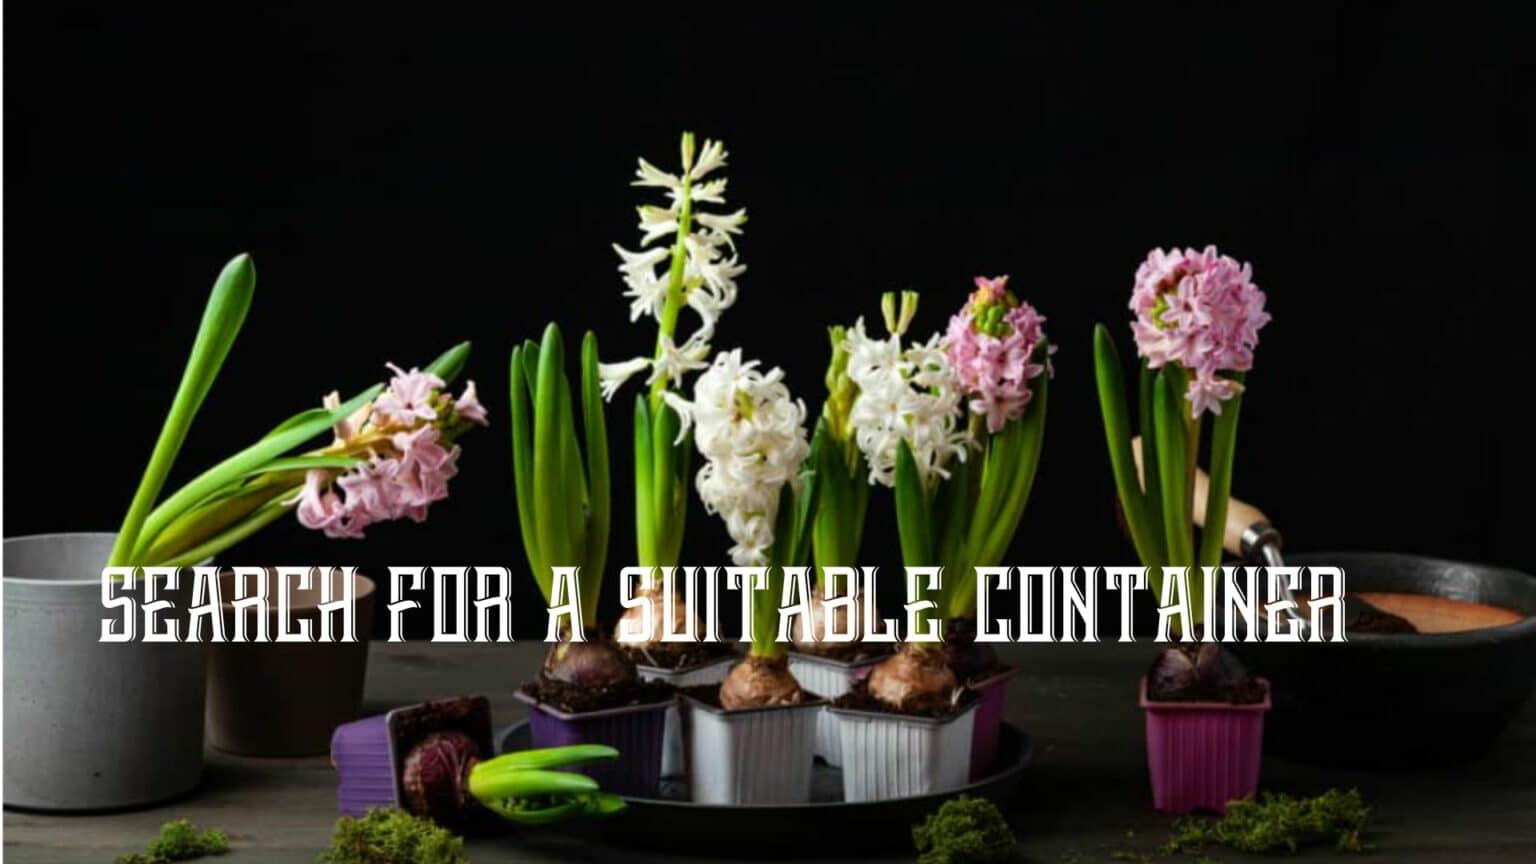
A wide range of containers may be used to successfully coax bulbs into flowering, so choose one whose artistic values align with those of the flowers you want to grow.
The shallowness of bowls and pots, as well as plain Mason jars, makes them ideal receptacles for a large number of bulbs. Some containers are designed for bulb forcing especially, with a narrowing top section that widens out into a vase shape at the bottom, so that the bulb may sit in the narrowing section above the water.

Fill a Mason jar or other deep container halfway with tiny pebbles or marbles. The bulb’s sharp end should be facing up when you place it into the pebbles or marbles. The lower part of the bulb should be buried while the upper half is left visible.
As long as the bottom quarter of the bulb is submerged, the remainder of the bulb may remain above water in the container.
In certain cases, you won’t even need soil to cultivate your bulbs. There are situations when you won’t even need soil to grow bulbs. So, the bulb may only be partially submerged.